Setting Everything Up
Assuming you already own Project Zomboid on Steam, you already have access to the dedicated server software.
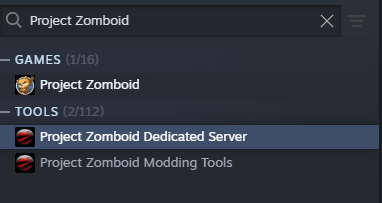
- Open your Steam Library
- Search for Project Zomboid (the server is usually hidden until searched)
- Install Project Zomboid Dedicated Server
Verify the Server Runs
After installing the server:
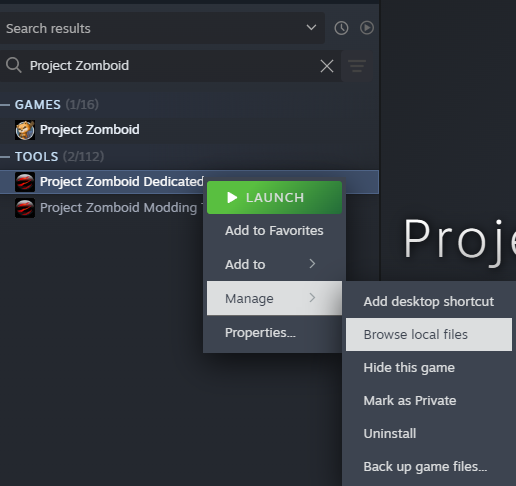
- Do not launch it from Steam
- Right‑click Project Zomboid Dedicated Server
- Select Manage → Browse local files
The server directory will look similar to this:
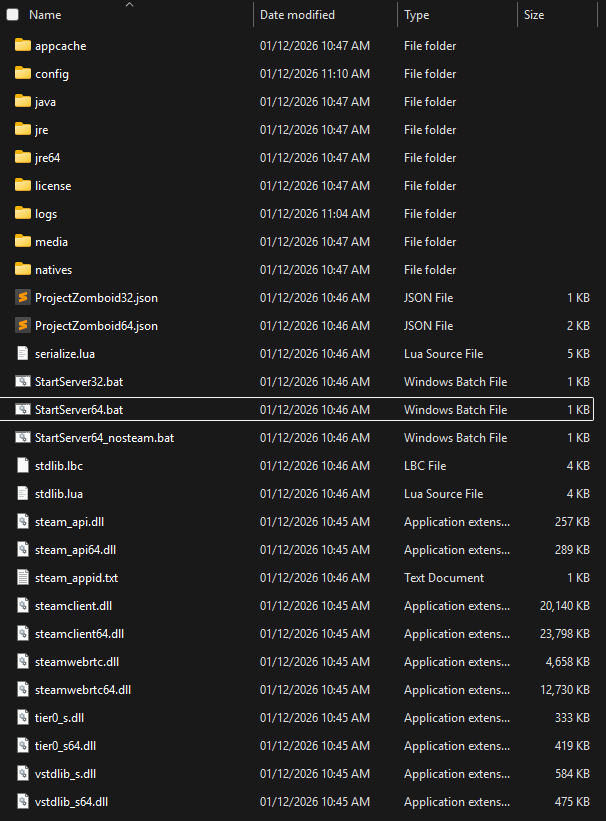
Both the 32‑bit and 64‑bit versions work:
StartServer32.batStartServer64.bat
Double‑click either file to start the server once. After it finishes initialization, you can close it.
Using playit.gg to Share the Server
Create and claim a new playit.gg agent, then create your first tunnel.
Project Zomboid normally uses the following ports:
16261- Main Port16262- Secondary UDP Port
We will adjust these to work with playit.gg.
Create the Tunnel
Create and configure your tunnel as follows:
- Type: Project Zomboid
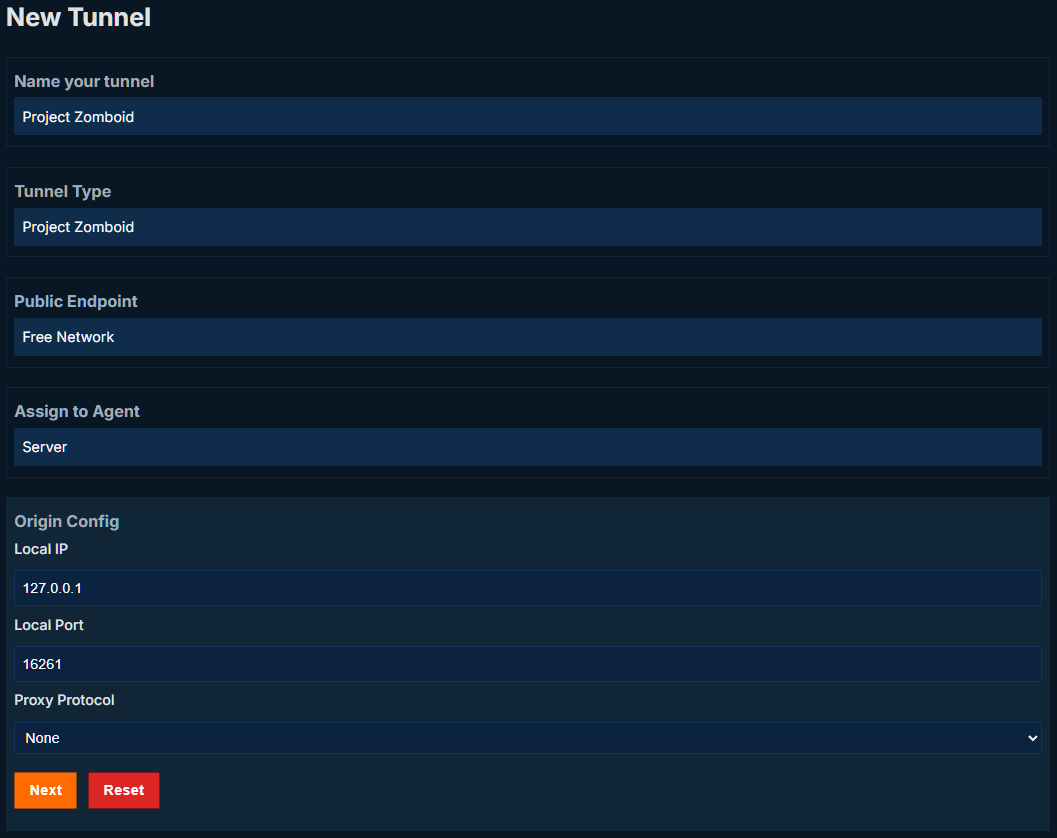
At this point, the tunnel will be active, but the game server will not yet be reachable. This is because the local server ports must match the tunnel’s assigned public ports.
Configure Server Ports
Navigate to your Project Zomboid server configuration folder:
C:\Users\User\Zomboid\Server
Inside, you will find files like:
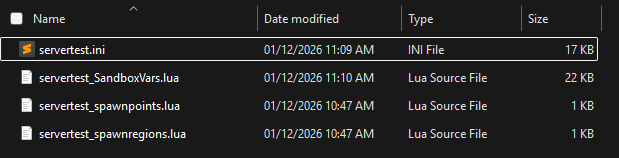
Edit servertest.ini
Open servertest.ini and locate:
DefaultPort=16261
Change this to match the public port assigned by playit.gg.
Example:
DefaultPort=10233

The project zomboid tunnel type will assign you two ports, these ports are sequential so if your public port is 10233, the second port will be 10234.
Update UDPPort to match your second port.
UDPPort=16262
Change it to:
UDPPort=10234
Save the file.
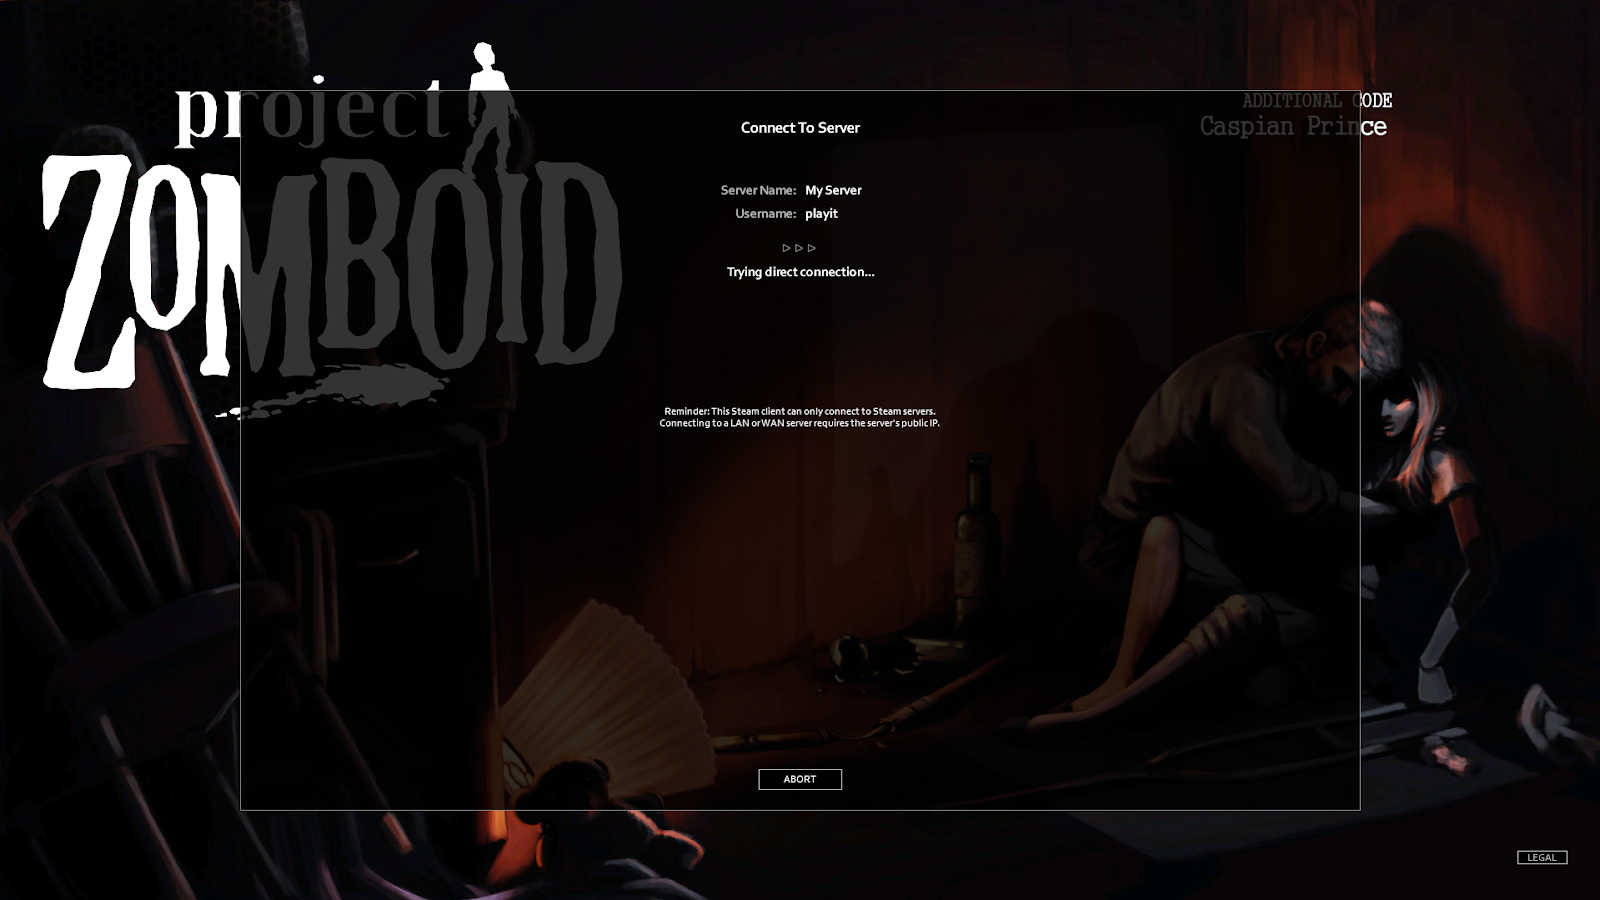
Connecting to the Server
- Start the Project Zomboid server
- Open your playit.gg tunnel
- Copy the numeric IP address and port
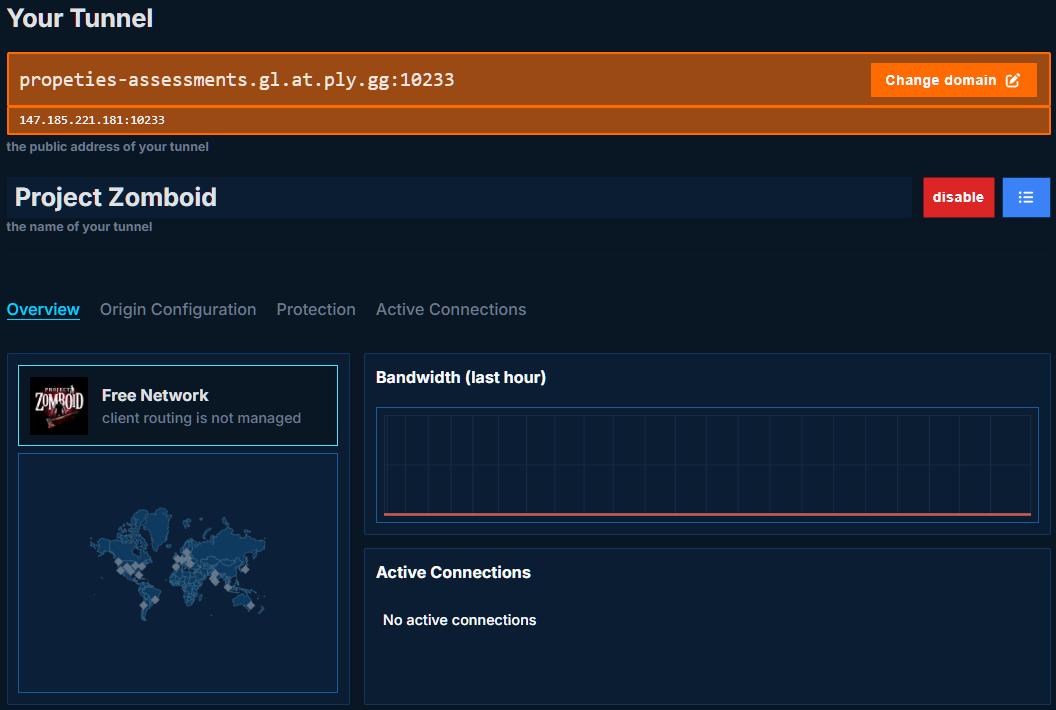
Example:
147.185.221.181:10233
Join the Project Zomboid server
- Launch Project Zomboid
- Click Join
- Enter the tunnel IP and port on the right‑hand side
- Under Connection Options, make sure:
Use Steam Relay = unchecked
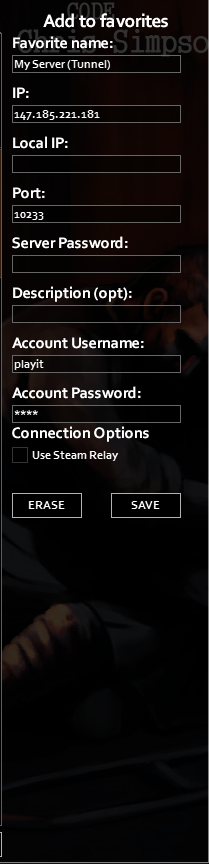
- Click Add
- Select the server from the list
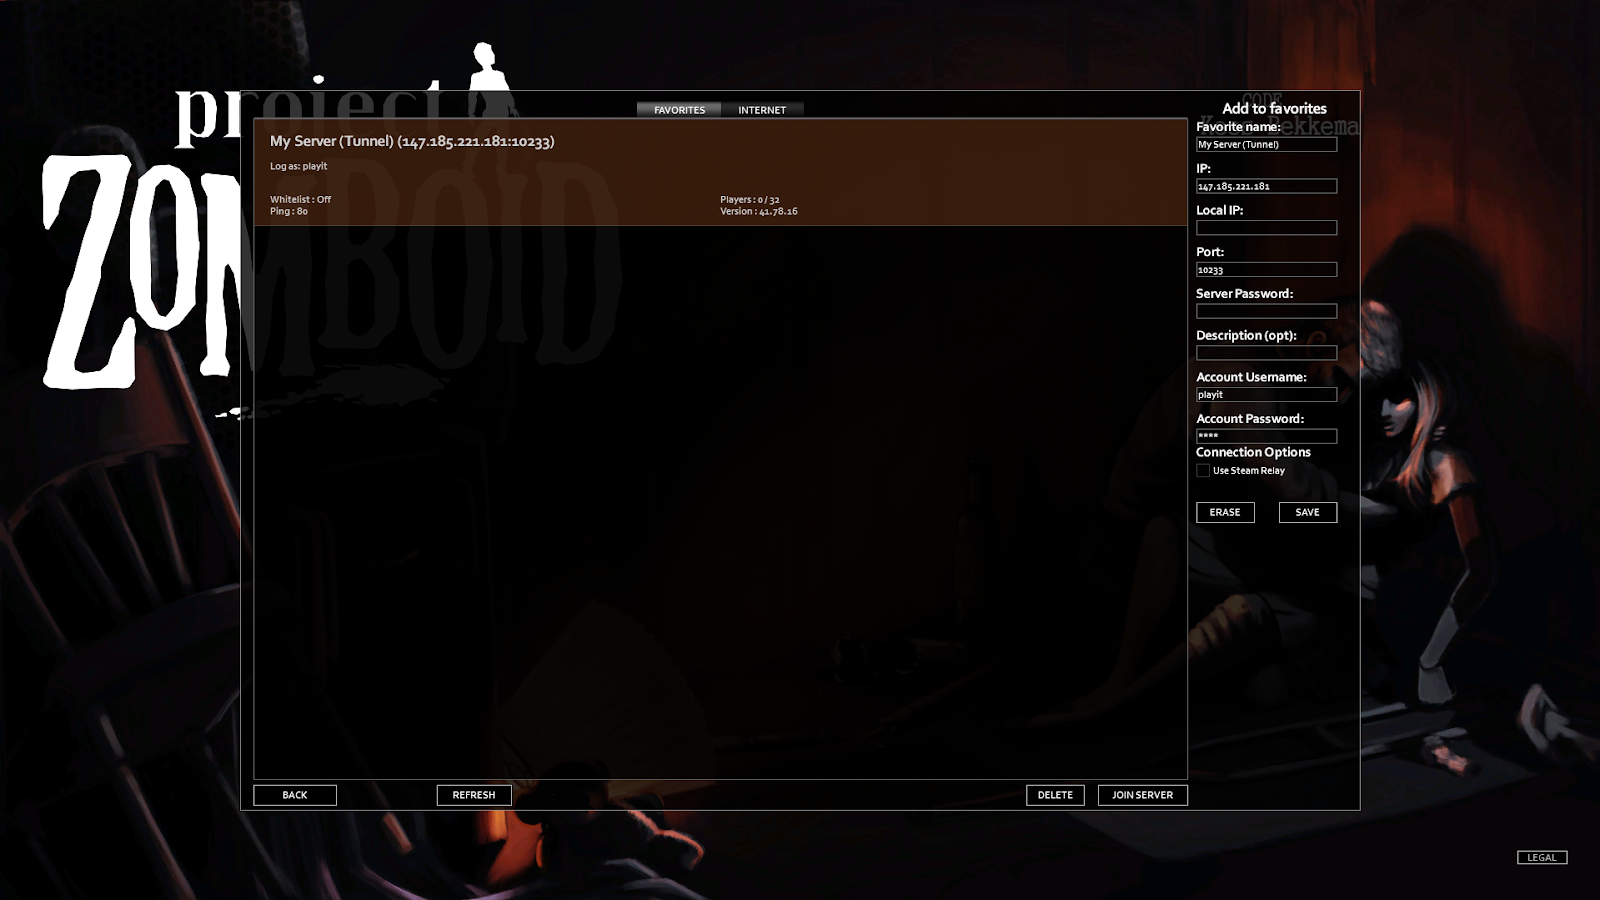
Server Is Live
The game server will now:
- Serve all game assets
- Apply server settings
- Store player data
To modify server settings, see the Project Zomboid Server Wiki .
Troubleshooting
Closed Port Warning

If you see a closed port warning:
- Double‑check that Use Steam Relay is disabled in the server list
- Confirm
DefaultPortandUDPPort* match the playit.gg tunnel ports
If using a custom UDP tunnel, UDPPort does not apply to you.
Done
Your Project Zomboid server should now be up and shared using playit.